How to add SANs to a self-signed certificate for IIS
发表于更新于
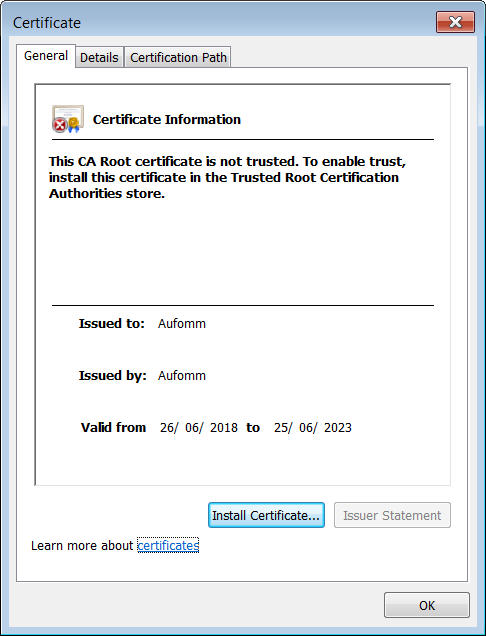
从Chrome 58版本开始,如果一张SSL证书里没有Subject Alternative Name信息,浏览器就会报错。对于CA来说,他们在签发证书的时候已经会把common name作为SAN加在证书信息里面,因此在CA处购买SSL证书的人可能感觉不到这个问题。如果是自己内部搭建的CA签的证书,签发出去的证书没有这个SAN,那么客户浏览网页的时候浏览器就会报错。
openssl genrsa -out myCA.key 4096 Generating RSA private key, 4096 bit long modulus ...........++ ............................................................................................................................++ e is 65537 (0x010001)
然后我们来生成一个我们的CA证书
1 2 3 4 5 6 7 8 9 10 11 12 13 14 15
openssl req -x509 -new -key myCA.key -sha256 -days 1825 -out myCA.crt You are about to be asked to enter information that will be incorporated into your certificate request. What you are about to enter is what is called a Distinguished Name or a DN. There are quite a few fields but you can leave some blank For some fields there will be a default value, If you enter '.', the field will be left blank. ----- Country Name (2 letter code) [AU]:AU State or Province Name (full name) [Some-State]:Victoria Locality Name (eg, city) []:Melbourne Organization Name (eg, company) [Internet Widgits Pty Ltd]:CA-Aufomm Organizational Unit Name (eg, section) []:CA Common Name (e.g. server FQDN or YOUR name) []:Aufomm Email Address []:
openssl req -new -sha256 -nodes -key key.key -out testAddSan.csr -config addSan.cnf You are about to be asked to enter information that will be incorporated into your certificate request. What you are about to enter is what is called a Distinguished Name or a DN. There are quite a few fields but you can leave some blank For some fields there will be a default value, If you enter '.', the field will be left blank. ----- Country []:AU State []:Victoria Locality []:Melbourne Organisation []:Aufomm Common Name []:aufomm-test.com
我们来检查一下这个CSR testAddSan.csr
1
2
3
4
5
6
7
8
9
10
11
12
13
14
15
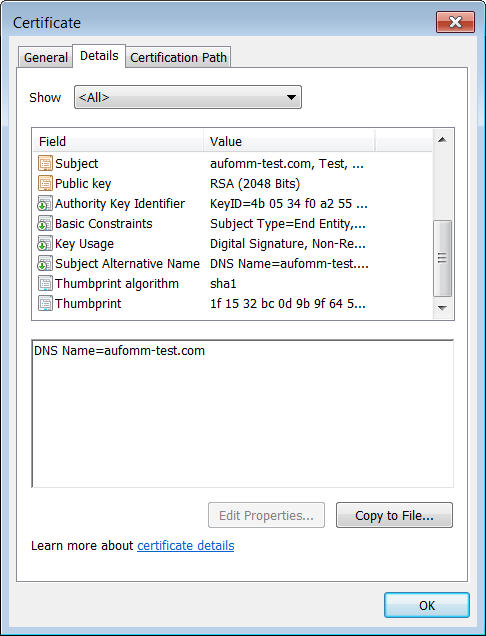
openssl req -text -noout -verify -in testAddSan.csr verify OK Certificate Request: Data: Version: 1 (0x0) Subject: C = AU, ST = Victoria, L = Melbourne, O = Aufomm, CN = aufomm-test.com Subject Public Key Info: Public Key Algorithm: rsaEncryption Public-Key: (2048 bit) Exponent: 65537 (0x10001) Attributes: Requested Extensions: X509v3 Subject Alternative Name: DNS:aufomm-test.com Signature Algorithm: sha256WithRSAEncryption
最后我们用之前生成的CA证书来签这个CSR,看看DNS的内容是否可以保留
1
2
3
4
openssl x509 -req -in testAddSan.csr -CA cacert.pem -CAkey cakey.pem -CAcreateserial -out testAddSan.crt -days 365 -sha256 Signature ok subject=C = AU, ST = Victoria, L = Melbourne, O = Aufomm, CN = aufomm-test.com Getting CA Private Key
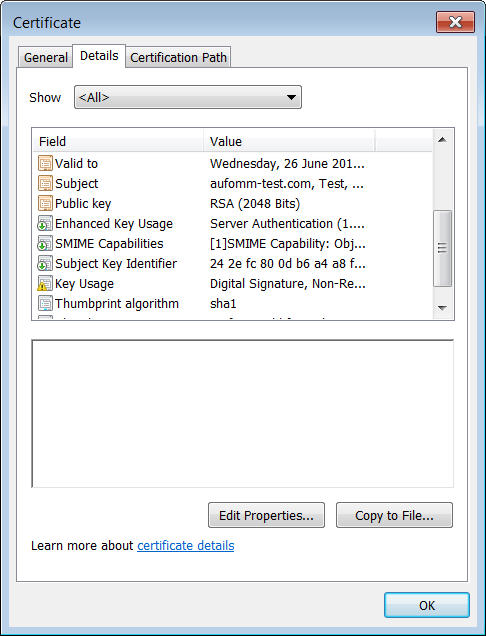
可以看到用该方法签出来的证书并没有SAN。
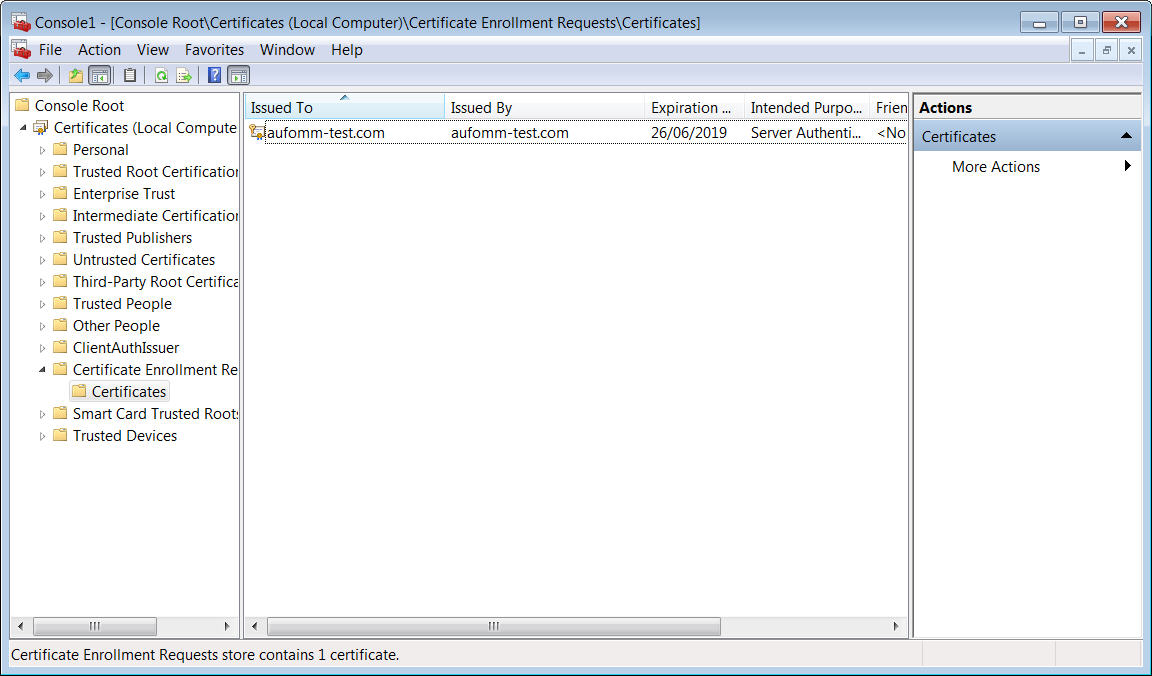
IIS生成CSR之后我引用配置文件来签这个CSR
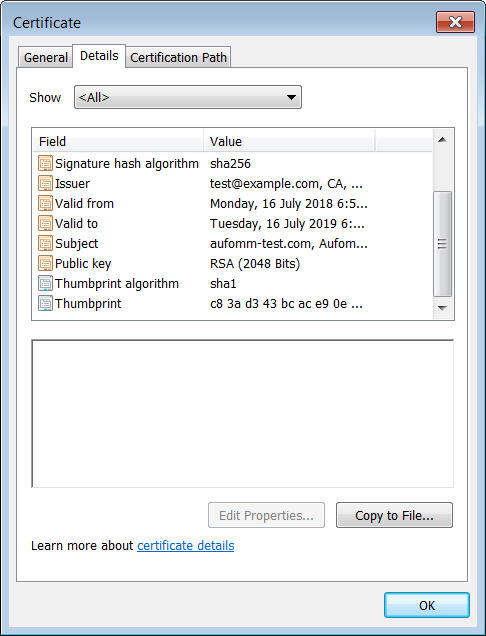
使用配置文件用CA证书来签刚才在IIS里生成的CSR了
1 2 3 4
openssl x509 -req -in CSRfromIIS.req -CA myCA.crt -CAkey myCA.key -CAcreateserial -out test-CSR.crt -days 365 -sha256 -extfile sign.cnf
Signature ok
subject=C = AU, ST = Victoria, L = Melbourne, O = Aufomm Test, OU = Test, CN = aufomm-test.com
Getting CA Private Key